
Welcome to the Singer Sewing Machine Owner’s Manual, your comprehensive guide to understanding and operating your Singer sewing machine․ This manual provides essential information on setup, maintenance, and troubleshooting, ensuring optimal performance for all your sewing projects․
Importance of Reading the Manual
Reading the Singer Sewing Machine Owner’s Manual is crucial for understanding your machine’s capabilities, model-specific features, and proper operation․ It provides step-by-step guides for threading, stitching, and maintaining your machine, ensuring optimal performance․ The manual also includes troubleshooting tips for common issues like thread breakage and uneven stitching․ By following the instructions, you can extend the lifespan of your machine and avoid costly repairs․ Additionally, the manual highlights safety precautions and best practices, helping you use the machine safely and effectively․ Whether you’re a beginner or an experienced user, the manual serves as an essential resource for maximizing your sewing experience․
History of Singer Sewing Machines
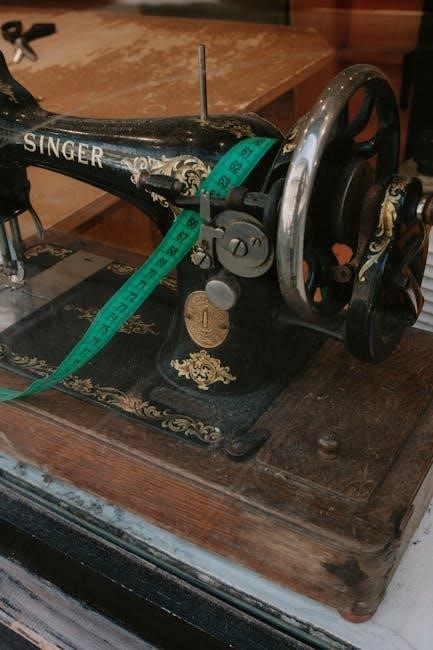
Singer Sewing Machines have a rich history dating back to 1851 when Isaac Merritt Singer founded the company in New York․ The first model, known as the “No․ 1,” revolutionized sewing by introducing a practical and user-friendly design․ Over the years, Singer has remained a leading brand, innovating with models like the iconic “Vibrating Shuttle” and the “Rotary Hook․” Today, Singer continues to produce high-quality machines, blending tradition with modern technology․ Their legacy is reflected in the durability and reliability of their products, making them a trusted choice for sewists worldwide․ This history underscores the commitment to excellence that Singer sewing machines represent․
Identifying Your Singer Sewing Machine Model
To identify your Singer sewing machine model, locate the model number on the machine or its packaging․ This number is crucial for accessing specific guides and troubleshooting․
Locating the Model Number
Locating the model number on your Singer sewing machine is essential for accessing the correct manual and troubleshooting guides․ Typically, the model number is printed on a metal plate or sticker attached to the machine․ Common locations include the base, underside, or near the power switch․ For older models, it might be found on the throat plate or the machine’s bed․ Ensure the number is clear and readable, as it is crucial for identifying your specific model․ Use this number to search for your manual online or contact Singer support for assistance․
Understanding Model-Specific Features
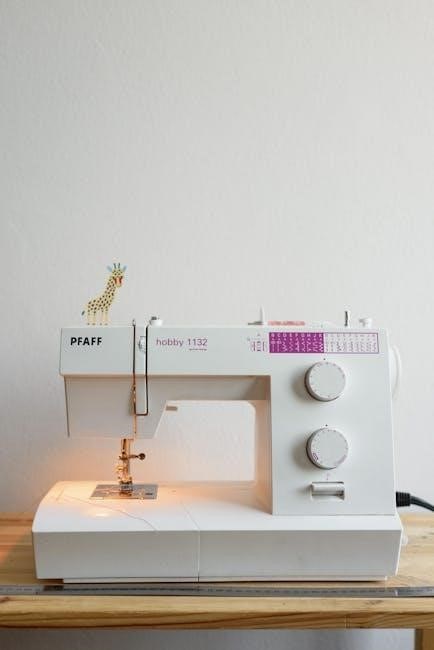
Each Singer sewing machine model is designed with unique features tailored to specific sewing needs․ Understanding these features is key to maximizing your machine’s potential․ For example, models like the Singer Brilliance 6180 and Quantum Stylist 9960 offer advanced stitch options and automatic threading, while the Tradition 2282 and Heavy Duty 4452 are built for durability and versatility․ Computerized models often include customizable settings, memory storage, and specialized feet for tasks like embroidery or quilting․ By familiarizing yourself with your machine’s model-specific features, you can optimize its performance for various fabrics and projects․ This section helps you identify and utilize these features effectively, ensuring a seamless sewing experience․
Parts and Accessories of the Singer Sewing Machine
Explore the essential parts and accessories of your Singer sewing machine, including bobbins, presser feet, and threads, designed to enhance your sewing experience and creativity․
External Components Overview
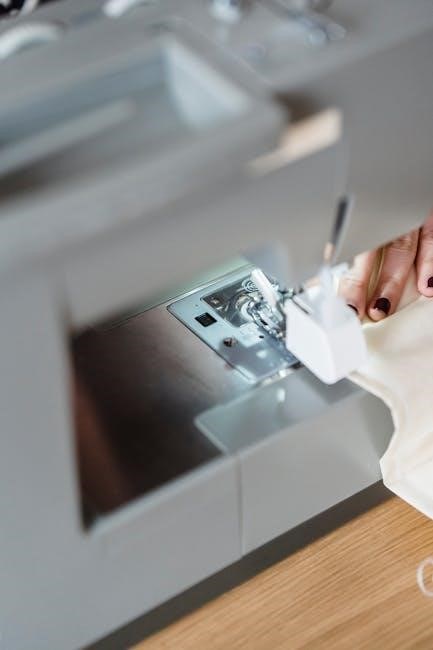
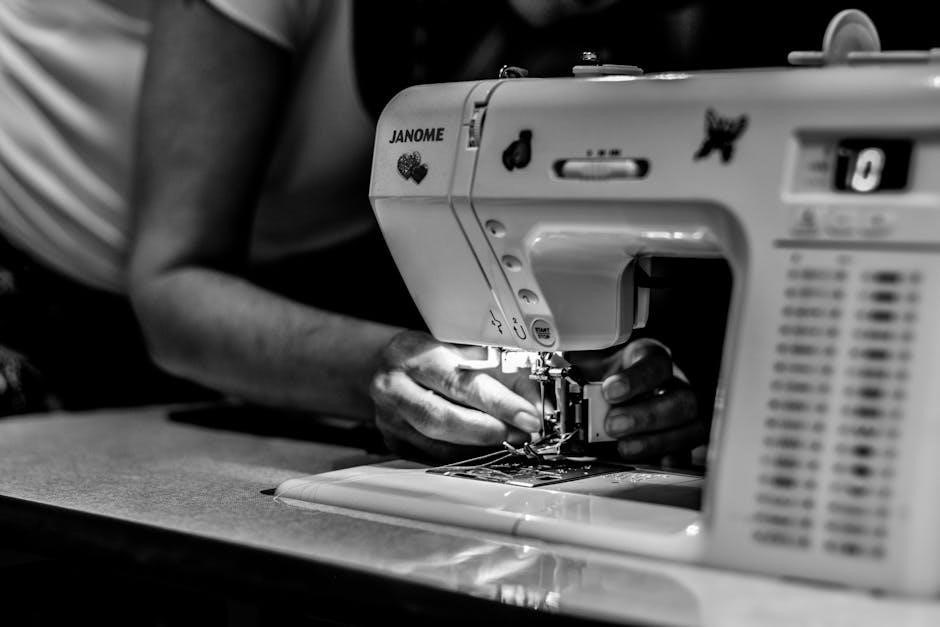
The Singer sewing machine features a durable design with a sturdy metal frame, ensuring stability during operation․ The exterior includes a smooth, user-friendly control panel with stitch selectors and tension dials․ The machine’s arm provides easy access to the bobbin area, while the free-arm design allows for sewing cuffs and sleeves effortlessly․ Additional components like the presser foot lever, reverse stitch lever, and power switch are strategically placed for convenient operation․ The machine’s portability is enhanced by a built-in carry handle, making it easy to transport to different workspaces․ These external components are designed to offer both functionality and comfort, catering to sewists of all skill levels․
Internal Mechanisms and Their Functions
The internal mechanisms of the Singer sewing machine are engineered for precision and durability․ The motor powers the machine, driving the needle and hook system․ The rotary hook is responsible for looping the thread to create stitches, while the gear system ensures synchronized movement of all parts․ The tension discs regulate thread tightness, preventing uneven stitching․ The bobbin case and race cover house the bobbin, maintaining consistent thread flow․ These internal components work harmoniously to deliver smooth stitching and reliable performance․ Regular maintenance, such as cleaning and oiling, is essential to keep these mechanisms functioning optimally․ Understanding their roles helps users troubleshoot common issues effectively․
Threading Your Singer Sewing Machine
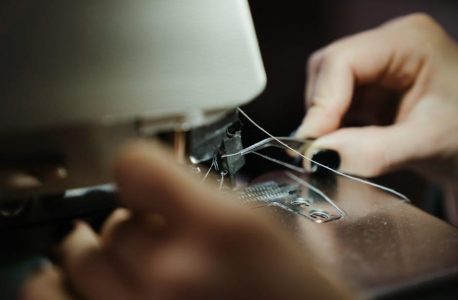
Threading your Singer sewing machine is a straightforward process when done correctly․ Begin by placing the thread on the spool pin and guiding it through the tension discs․ Next, loop the thread around the take-up lever and insert it through the needle’s eye․ Ensure the thread is seated properly in the tension spring and pull gently to secure it․ Proper threading ensures smooth operation and consistent stitching․ Always refer to your manual for specific guidance tailored to your machine model․
Step-by-Step Threading Guide
Start by turning off your Singer sewing machine and ensuring it is unplugged for safety․
Locate the spool pin and place the thread on it, securing it with the spool cap․
Gently pull the thread through the tension discs, ensuring it is not twisted․
Loop the thread around the take-up lever, moving from left to right․
Bring the thread down and insert it through the needle’s eye from front to back․
Leave a small loop at the needle and pull the thread gently to seat it in the tension spring․
Test the thread by gently tugging it to ensure it is properly seated and not too tight or loose․
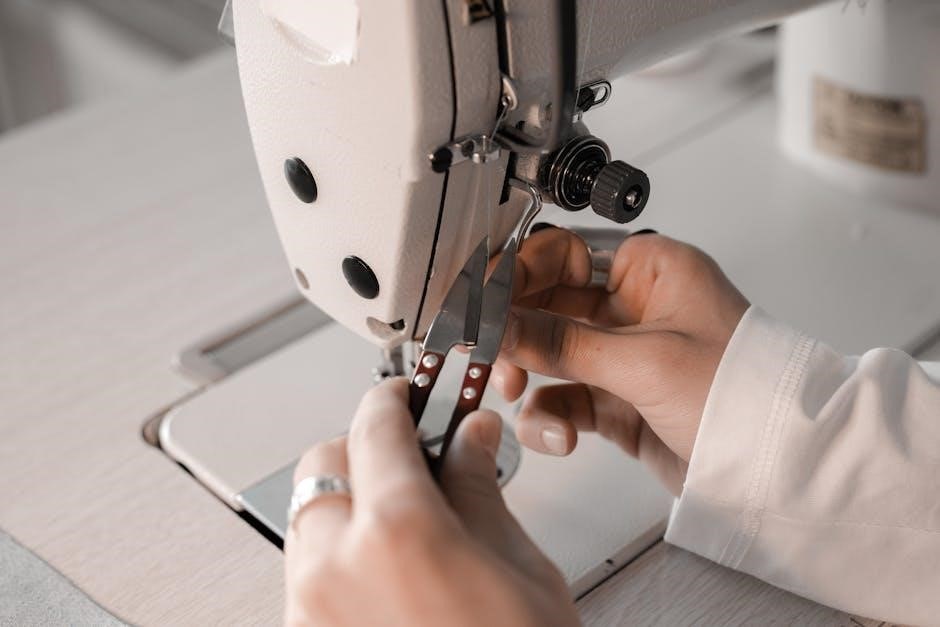
Finally, trim any excess thread close to the needle and begin sewing․
Winding and Inserting the Bobbin
Begin by cutting a piece of thread and placing one end through the bobbin’s hole․
Wind the thread around the bobbin evenly, leaving a small gap at the top․
Trim the excess thread and insert the bobbin into the bobbin case․
Pull the thread gently to ensure it is seated properly in the case’s tension spring․
Place the bobbin case into the machine’s bobbin area, ensuring it clicks into position․
Bring the thread up through the machine’s stitch plate to prepare for sewing․
Always check that the bobbin is correctly seated and the thread is not tangled before starting your project․
Basic Operations and Stitch Selection
Learn the fundamental operations of your Singer sewing machine, including basic stitching, speed control, and fabric handling․ Discover how to select the perfect stitch for your project․
Setting Up the Machine for First Use
Setting up your Singer sewing machine for the first time is an exciting step to beginning your sewing journey․ Start by carefully unpacking the machine and ensuring all accessories are included․ Place the machine on a stable, flat surface and plug in the power cord․ Familiarize yourself with the control panel and presser foot․ Before sewing, ensure the machine is properly threaded and the bobbin is correctly installed․ Refer to the manual for specific threading instructions, as this varies by model․ Choose your desired stitch using the stitch selector or dial, and test the machine on scrap fabric to ensure smooth operation․ Always consult the manual for model-specific setup tips and guidelines․
Choosing the Right Stitch for Your Fabric
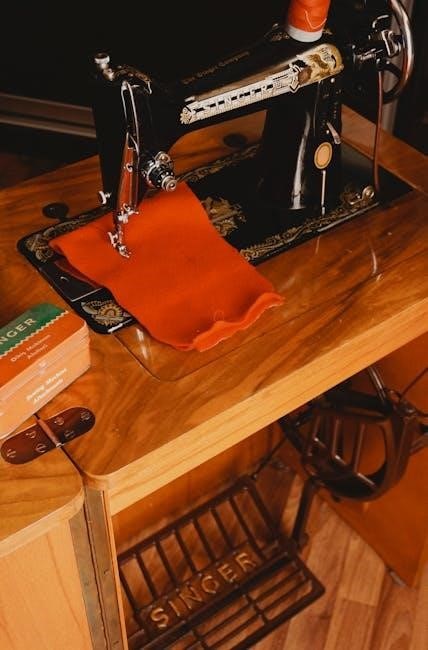
Choosing the right stitch for your fabric is crucial for achieving professional results․ Singer sewing machines offer a variety of stitches, from basic straight and zigzag to decorative and stretch stitches․ For lightweight fabrics like cotton or linen, a straight stitch is ideal․ Delicate fabrics such as silk or voile may require a shorter stitch length to prevent tearing․ Heavier fabrics like denim or canvas benefit from a stronger, longer straight or heavy-duty stitch․ Knits and stretchy fabrics work best with a zigzag or stretch stitch to allow flexibility․ Always consult your Singer manual for model-specific stitch options and recommendations tailored to your fabric type․ Proper stitch selection ensures durability and a polished finish․
Maintenance and Care Tips
Regularly clean and oil your Singer sewing machine to ensure smooth operation․ Replace worn parts promptly to maintain performance and extend the machine’s lifespan․
Cleaning the Machine
Regular cleaning is essential to maintain your Singer sewing machine’s performance․ Use a soft, dry cloth to wipe down the exterior and remove dust․ For internal areas, turn off the machine and use compressed air to gently remove lint and debris․ Avoid harsh chemicals, as they may damage the finish․ Pay special attention to the bobbin area and stitch plate, where lint tends to accumulate․ For stubborn dirt, use a small, dry brush or a cotton swab․ Never use water directly on the machine, as it may damage electrical components․ Singer recommends using only approved cleaning products․ Cleaning every 1-2 months, or more frequently with heavy use, ensures optimal functionality and longevity․
Oiling and Lubrication
Regular oiling is crucial for maintaining the smooth operation of your Singer sewing machine․ Locate the oiling points as indicated in your manual, typically near the bobbin area or hook race․ Use only Singer-recommended oil to avoid damaging the machine․ Turn off the machine and apply a few drops to the specified parts․ Gently run the machine without fabric to distribute the oil evenly․ Oiling every 1-2 months, or after heavy use, ensures proper lubrication of moving parts․ Excess oil can attract dust, so avoid over-lubrication․ Always refer to your model-specific manual for guidance on the correct oil type and application frequency to keep your machine running smoothly and prolong its lifespan․
Replacing Parts and Accessories
Replacing parts and accessories on your Singer sewing machine ensures optimal performance and extends its lifespan․ Always use genuine Singer parts for compatibility and reliability․ Start by identifying the exact part number from your manual or the Singer website․ Purchase parts from authorized dealers to avoid counterfeit products․ For installation, follow the step-by-step instructions in your model-specific manual or consult a professional if unsure․ Regularly check for worn or damaged parts, such as needles, bobbins, and presser feet, and replace them as needed․ After installation, test the machine to ensure smooth operation․ Proper maintenance and timely replacements will keep your Singer sewing machine functioning efficiently for years․
Troubleshooting Common Issues
This section helps identify and resolve common problems, such as thread breakage, uneven stitching, and motor noise, ensuring your Singer sewing machine runs smoothly and efficiently․
Thread Breakage and Tension Problems
Thread breakage and tension issues are common challenges for sewing machine users․ Proper threading and bobbin installation are crucial to prevent these problems․ Ensure the thread is correctly guided through the machine’s tension discs and take-up lever․ If the thread breaks frequently, check for lint buildup or incorrect needle size․ Adjusting the tension dials can also resolve uneven stitching․ Regularly cleaning the machine and using high-quality thread can minimize these issues․ Refer to the manual for specific tension settings and threading diagrams to maintain optimal performance and extend the life of your Singer sewing machine․
Uneven Stitching and Fabric Feed Issues
Uneven stitching and fabric feed problems can disrupt your sewing experience․ These issues often arise from incorrect tension settings, improper needle alignment, or misaligned fabric․ Check if the fabric is moving smoothly under the presser foot and ensure the feed dogs are functioning correctly․ Clean the machine regularly to remove lint, which can interfere with fabric movement․ Adjust the stitch length and width as needed, and verify that the correct presser foot is in use․ Consulting the manual or model-specific guides can provide tailored solutions for your Singer machine, helping you achieve consistent and professional results․
Motor Problems and Noise
Motor issues and unusual noises can hinder your sewing productivity․ If your Singer machine’s motor is malfunctioning or producing loud sounds, it may indicate worn components or internal debris․ Ensure the machine is properly oiled and lubricated as per the manual’s instructions․ Check for loose screws or belts and tighten them if necessary․ Excessive noise could signal improper motor alignment or damaged gears․ Regular maintenance, such as cleaning and oiling, can prevent these issues․ If problems persist, refer to the troubleshooting section of your Singer manual or consider professional repair services to restore smooth operation and extend the machine’s lifespan․

Using Attachments and Accessories
Singer sewing machines offer a variety of attachments and accessories to enhance your sewing experience․ From zipper feet to embroidery hoops, these tools expand your creative possibilities․
Overview of Available Attachments
Singer sewing machines come with a wide range of attachments designed to enhance versatility and precision․ These include various presser feet for tasks like zippers, buttonholes, and heavy fabrics, as well as embroidery hoops for decorative stitching․ Additional accessories like walking feet, quilting guides, and specialized feet for techniques like pintucking or ruffling are also available․ These attachments are model-specific, ensuring compatibility and optimal performance․ They expand the machine’s capabilities, allowing users to tackle diverse sewing projects with ease․ Singer’s official website and authorized retailers provide detailed lists of available attachments, making it easy to find the right tools for your machine․
Installing and Using Different Attachments
Installing attachments on your Singer sewing machine is designed to be straightforward․ Always refer to the specific instructions for your model, as attachment installation may vary․ Start by ensuring the machine is turned off and the needle is in the down position․ For presser feet, simply snap them on or off using the lever provided․ Specialized feet, like the zipper or walking foot, may require adjusting the shank height․ Embroidery hoops and other large attachments often clip onto the machine or require slight alignment․ Follow the manual’s guidance for each attachment type to ensure proper fit and function․ Practice on scrap fabric to get accustomed to how each attachment operates․
Advanced Features for Experienced Users
Explore programmable stitch patterns, customizable settings, and advanced embroidery functions․ Utilize the machine’s user-friendly interface for precision and versatility․ Elevate your sewing with modern, high-tech capabilities․
Customizing Stitch Settings
Customizing stitch settings on your Singer sewing machine allows for personalized sewing experiences․ You can adjust stitch length, width, and tension to suit various fabrics and projects․ Many models feature programmable stitch patterns, enabling you to save your favorite settings for quick access․ Advanced machines also offer embroidery functions and memory storage, letting you create intricate designs with ease․ By exploring these customization options, you can unlock the full potential of your Singer sewing machine, ensuring precise and professional results for every stitch․
Using Specialized Feet and Techniques
Specialized feet and techniques elevate your sewing experience with Singer machines․ From zipper feet to walking feet, these attachments simplify tasks like handling thick fabrics or creating perfect hems․ The blind hem foot is ideal for invisible stitches, while the overlock foot ensures smooth edge finishes․ For embroidery or quilting, use the specialized embroidery or darning foot․ Techniques like adjusting presser foot pressure and using the free-arm option enhance precision․ Explore Singer’s accessories to discover how each foot can transform your sewing projects, ensuring professional results for every stitch․ Proper technique and the right tools make even complex tasks effortless․
Model-Specific Features and Upgrades
Singer sewing machines offer model-specific features like advanced stitching, embroidery options, and customizable settings․ Upgrades such as additional feet, software updates, and accessory bundles enhance functionality and versatility․
Differences Between Popular Models
Singer offers a variety of sewing machines tailored to different needs․ The Singer 4452 Heavy Duty is ideal for thick fabrics, while the 9960 Quantum Stylist excels in embroidery and quilting․ The Brilliance 6180 and 6199 models feature advanced stitching capabilities and customizable settings․ The Tradition 2282 and S010L are popular for their simplicity and durability, suitable for beginners․ Each model is designed with unique features, making them suitable for specific tasks, whether it’s heavy-duty sewing, intricate stitching, or everyday use․ This diversity ensures users can choose the perfect machine for their sewing projects․
Upgrading Your Machine’s Capabilities
Upgrading your Singer sewing machine can enhance its performance and adaptability to various sewing tasks․ Many Singer models allow for the addition of specialized attachments, such as embroidery hoops, quilting extensions, and specialized presser feet, which expand the machine’s functionality․ Some models, like the Singer 9960 Quantum Stylist, support software updates to unlock new stitch patterns and features․ Additionally, optional accessories like extension tables or custom stitch cards can be purchased to tailor the machine to your sewing needs․ Regularly checking Singer’s official website or authorized dealers for compatible upgrades ensures your machine remains versatile and capable of handling complex projects with ease․
Safety Precautions and Best Practices
Always use your Singer sewing machine as described in the manual․ Keep children and pets away․ Use only recommended attachments and ensure proper ventilation while sewing․
General Safety Guidelines
Always follow safety guidelines when using your Singer sewing machine․ Keep children and pets away while operating․ Use only Singer-recommended attachments and ensure proper ventilation․ Avoid loose clothing or jewelry that could get caught․ Never touch hot or moving parts․ Keep the machine on a stable, flat surface․ Unplug the machine when not in use or during maintenance․ Follow the manual’s instructions for threading and operation․ Store the machine in a dry, cool place․ Regularly inspect cords and plugs for damage․ Avoid sewing near flammable materials․ Use the machine only for its intended purpose․ Always refer to the manual for specific safety precautions tailored to your model․
Machine Care and Storage Tips
Proper care and storage extend the life of your Singer sewing machine․ Regularly clean the machine, removing lint and debris from the bobbin area and feed dogs․ Use a soft brush or cloth to wipe down surfaces․ Apply Singer-approved oil to moving parts to maintain smooth operation․ Store the machine in a protective case or cover to shield it from dust․ Avoid exposing it to extreme temperatures or humidity․ Place the machine on a stable, flat surface when not in use․ For long-term storage, wind the power cord neatly and secure it to prevent damage․ Always refer to the manual for model-specific care instructions to ensure optimal performance and longevity․
Additional Resources and Support
Access Singer’s official website for downloadable manuals, troubleshooting guides, and FAQs․ Explore online forums and communities for tips and advice from experienced users․
Online Communities and Forums
Join Singer sewing machine online communities and forums to connect with fellow sewists, share tips, and solve common issues․ Platforms like Reddit, Facebook groups, and specialized sewing forums offer valuable resources․ Many users discuss troubleshooting, maintenance, and creative projects․ These communities often provide access to tutorials, repair guides, and user-generated content․ Additionally, Singer’s official website links to forums and support pages, ensuring you stay updated on the latest sewing trends and machine-specific advice․ Engage with these networks to enhance your sewing experience and gain insights from experienced users․
Professional Repair and Service Options
For complex repairs or maintenance, Singer offers professional repair and service options through authorized centers․ These experts provide warranty repairs, routine maintenance, and upgrades, ensuring your machine runs optimally․ Visit Singer’s official website to locate certified service providers near you․ They use genuine parts and adhere to factory standards, guaranteeing reliable service․ Additionally, many sewing machine dealers offer repair services, covering models like the Singer Brilliance 6180 and Heavy Duty series․ Regular professional servicing extends your machine’s lifespan and maintains performance, keeping your sewing projects flawless and efficient․